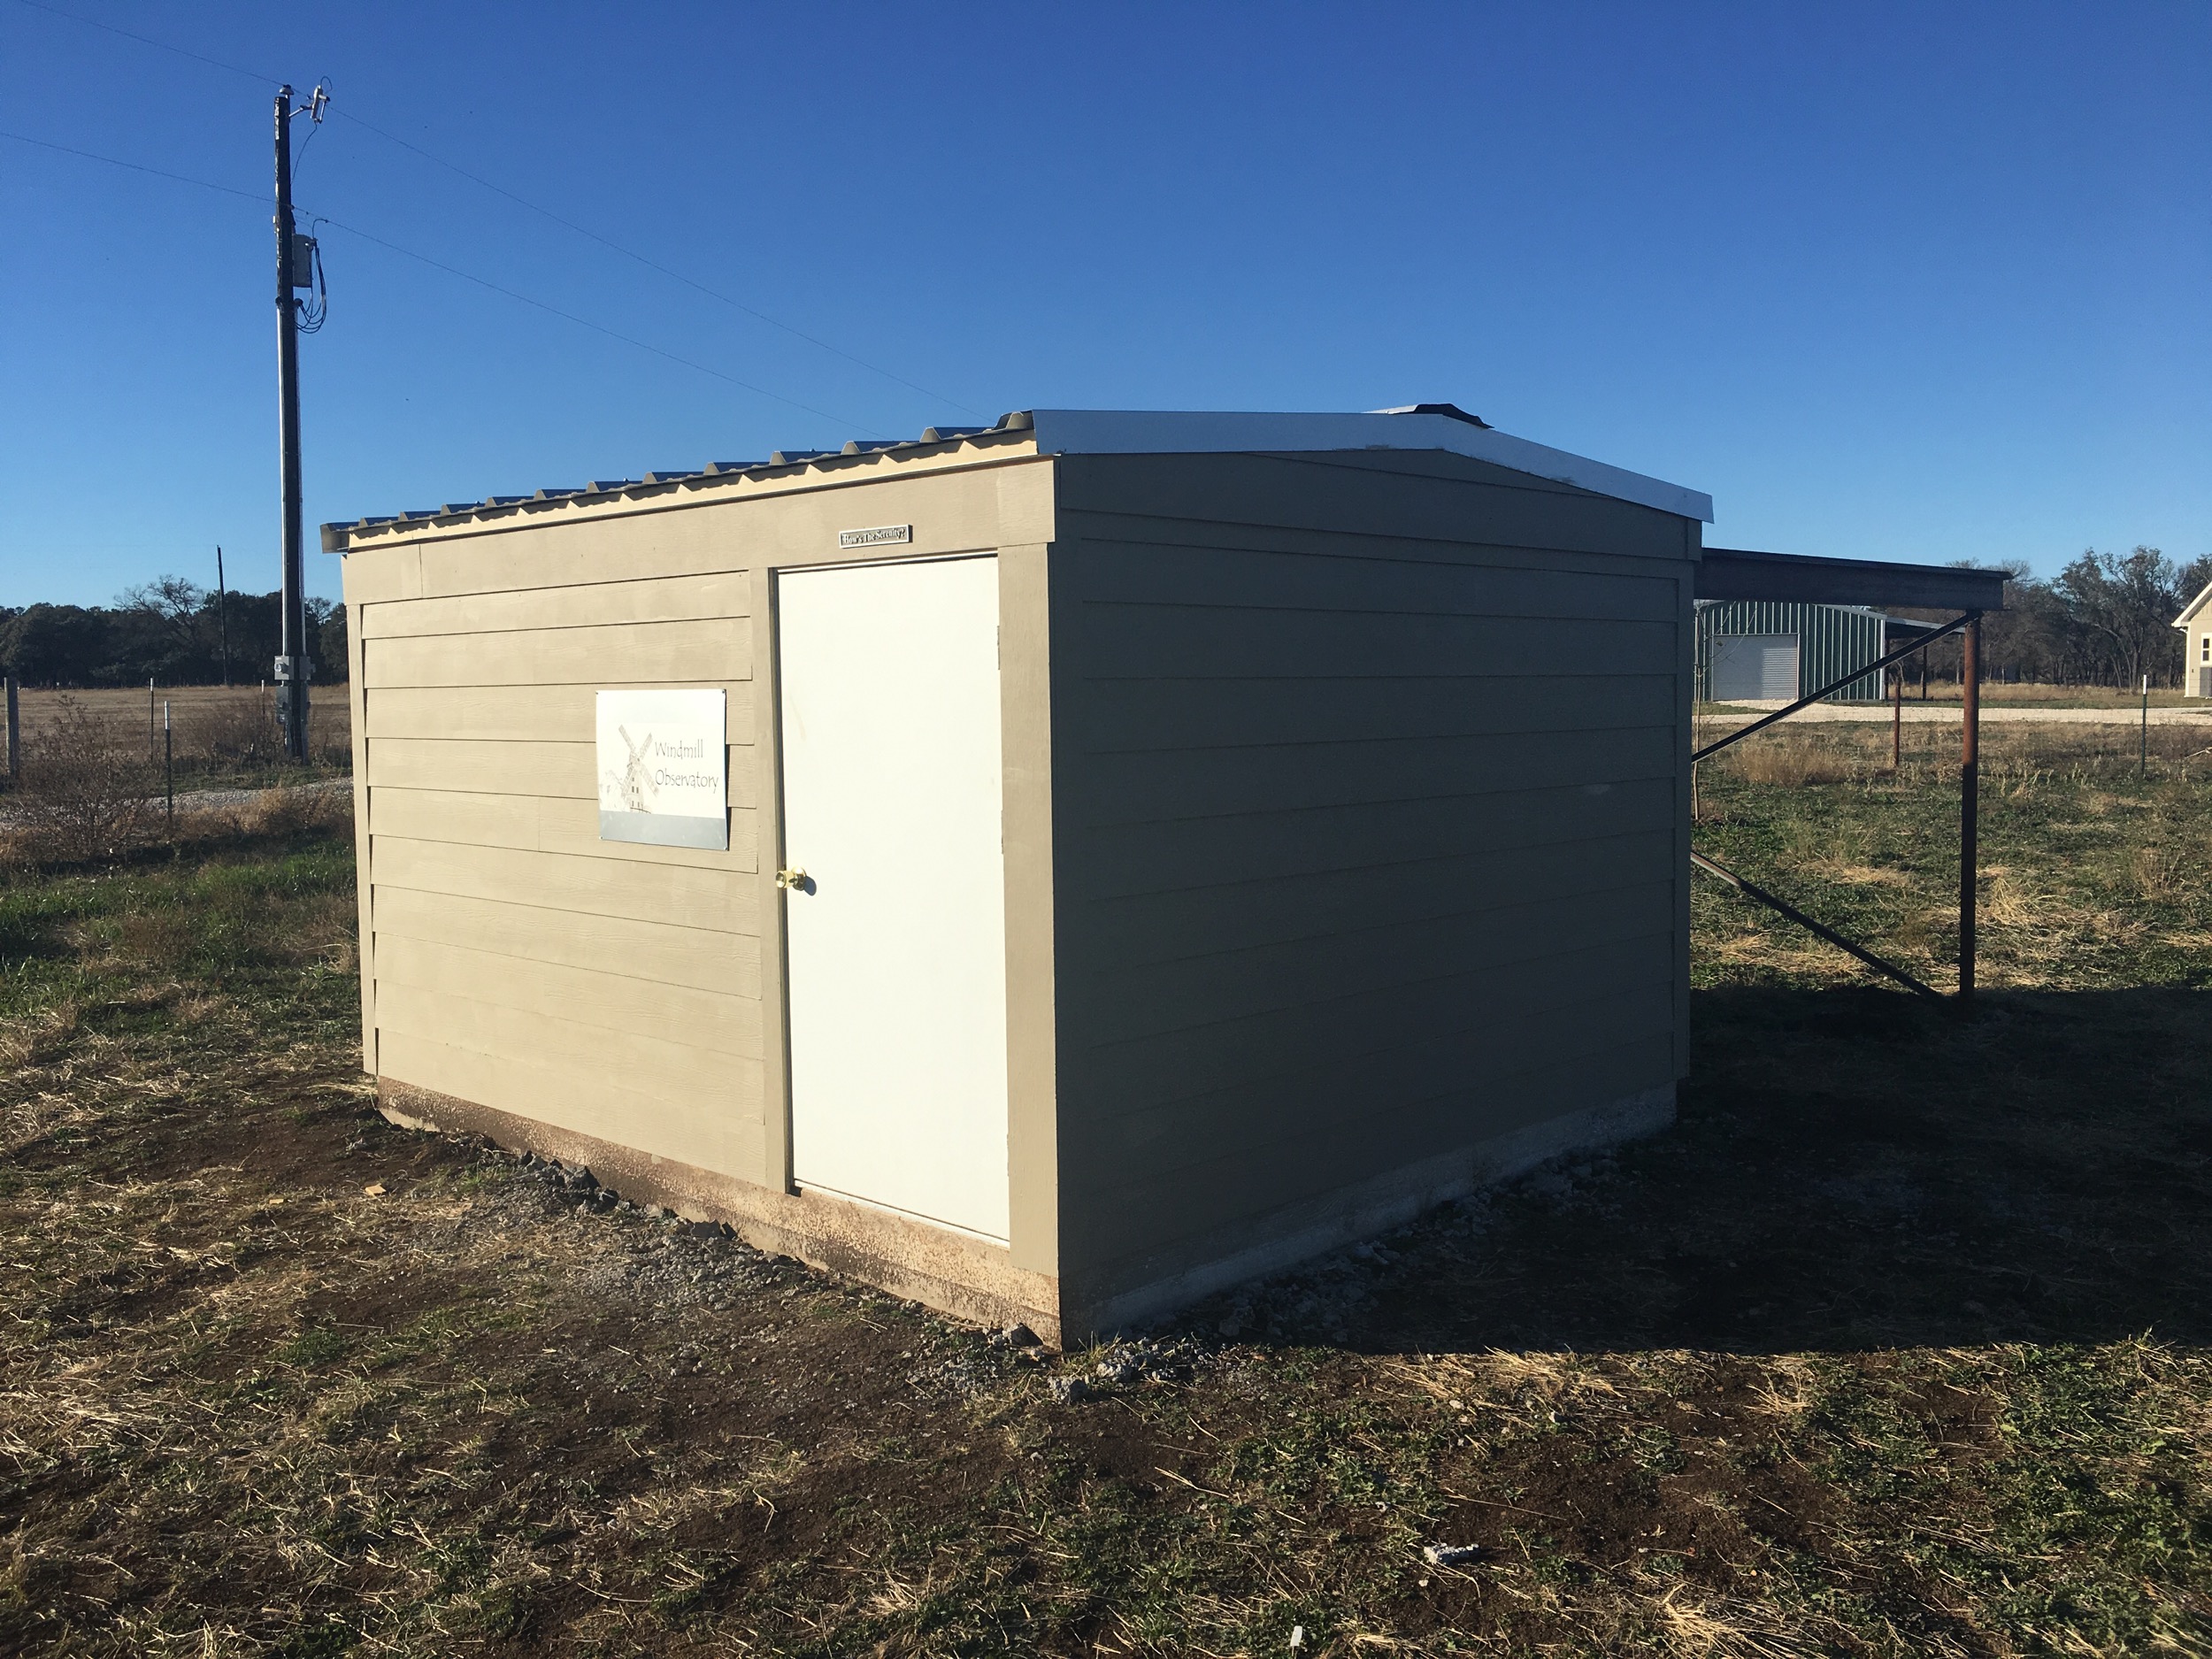
Part of the move involved purchasing an observatory. I looked around at various options and studied pros and cons of various designs while also thinking about my own needs and preferences. I originally considered a dome, but of the available options at my price range they were either too expensive or looked too much like port-a-loos (according to my wife/financial officer). I really ultimately preferred a roll-off-roof design because it offered great sky views and more room to walk around and store stuff (again, given my budget). Also, it would look more like a shed than a pure observatory, the latter looking more expensive and perhaps more attractive to would-be thieves.
I explored different options ranging from building it myself to turn-key solutions. I'm not handy at the best of times, so my confidence with respect to the former option was very low. Exploring turn-key solutions, I inquired with several dedicated observatory builders. Most were friendly, but prices shot up quickly when discussing the various options that I needed. I also approached local barn/shed builders. Most declined right off the bat, a few were interested and promised to draw up plans. While waiting for such plans, I got in touch with a few folks from the local astronomy club who had put together an observing site about 1.5 hours west of me called Stellar Skies. It's a great bit of land where folks can pay for a small portion of it, with concrete pad included, and utilize it as they wish (temporary scope setups on weekends to permanent observatory builds with remote access). They have a chap there who builds roll-off roof observatories and who is also a professional framer/builder. After a few email exchanges, he agreed to come out this way and build me a 10'*12' roll-off roof within my budget! Great guy, this Jarret character - he owns a massive Dob and has earned various Astronomy League certificates for visual observing. He well-and-truly understood the intricacies of building observatories and asked all the right questions while putting it all together. (While he was building my observatory, he launched a formal company which can be seen here - Heaven's View Observatories: https://hvobservatories.squarespace.com/.)
So, it took Jarret about a month or so put the observatory together. He had other jobs and rain interfered with the construction site access (when it rains on my property it becomes a massive mud fest!). But, he got it done and it was complete by Thanksgiving weekend. The beauty of his design is that he uses steel beams for the roof rail supports, with a cross-beam welded support system. This means no warping over the years as might be experienced with wooden rail support systems. Once he was done, I painted the exterior and interior. I also built a corner desk unit and added some cheap but strong plastic shelving from Lowes hardware store. The floor isn't done yet, and I'm exploring options for that but leaning towards some matt black horse stall padding available at my local Tractor Suplly Company (yeehaw!). I'll also add a solar power system to keep my marine battery charged, which powers both my scope and laptop during imaging.
It really is a luxury in this hobby to have your own observatory. To be able to walk out and be imaging without barely any setup time is amazing and great fun. My mount, the Celestron CGEM, has a hibernate mode, so you can effectively turn it off and on later and the mount will still be perfectly polar aligned. So, you really do have a ton of time to really focus on the image, including obtaining your dark, flat and bias frames.
Anyway, finished product pictures are below, and you can see construction images on my FLICKR site here.

No comments:
Post a Comment