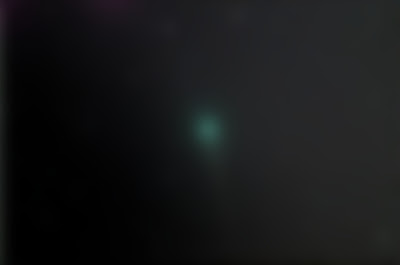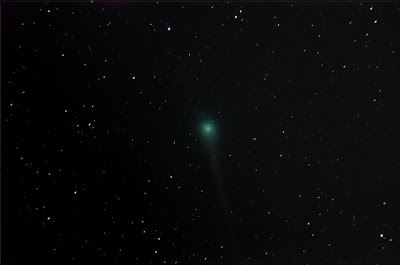
Anyway, I just read an interesting guide on how to remove this using Photoshop. I replicated the tasks in GIMP and got a pretty good result. It diminishes a bit of the tail, but the space background is more uniformly dark and therefore makes for a nicer image in my opinion.
Basic steps:
1. Get your basic image (already stacked and processed)
2. Save it a filename of something like [object name]_rawfile.XXX (whatever format you want)
3. Then go to Gaussian Blur in GIMP or whatever software you use.
4. Blur the image until it is really blurry. You won't see any stars, won't see actual object detail but maybe just a hint of it. Like below:

5. Save that image with a filename of something like [object name]_blurred.XXX
6. Load the two images now as layers
7. Set the layering tool to SUBTRACT so that you are subtracting the difference from one layer to another (sort of a reverse combine layer)
8. Mess with it until you get a nice uniform background without losing too much object detail.
9. Voila!!!!
Final image below:

3 comments:
Nicely done!
Two other possibilities:
Astronomy Tools
and
GradientXTerminator
When I scrolled down and saw your reprocessed shot of Lulin I said "WOW!" The gradient removal certainly adds depth and makes the comet look even more vibrant. Great job.
Ewan
Thanks chaps!
Jeff - D'oh! Forgot I had AstroTools on my desktop. I am operating from a new laptop these days with a bit more oomph. Need to mess with that too!
Ewan - I had the same reaction when I slid the layer adjuster control over! It's a neat trick and I may run some other images through it.
Cheers,
Phil
Post a Comment